|
Starlink Satellite broadband is in our opinion one of the most exciting developments in our industry for a least the past 5 years. It give fast reliable internet connectivity in a few minutes to almost anywhere in the country (UK). All you need is a power supply and an area free from overhead obstructions, so the dish can connect to one of the thousands of low orbit satellites.
Starlink is a particular blessing to those in rural areas who are unable to get a decent conventional broadband connection. For Ubiquit Unifi fans the good news is that Starlink integrates very easily with Unifi products. In this guide we are going to show you how to connect your Starlink to Unifi.
What you need to buy from Starlink
The old Starlink system (the round one) requires nothing more than what comes in the box. You will just need to set-up the Starlink and then remove the rubber cap from the Ethernet port on the back of the Starlink router.
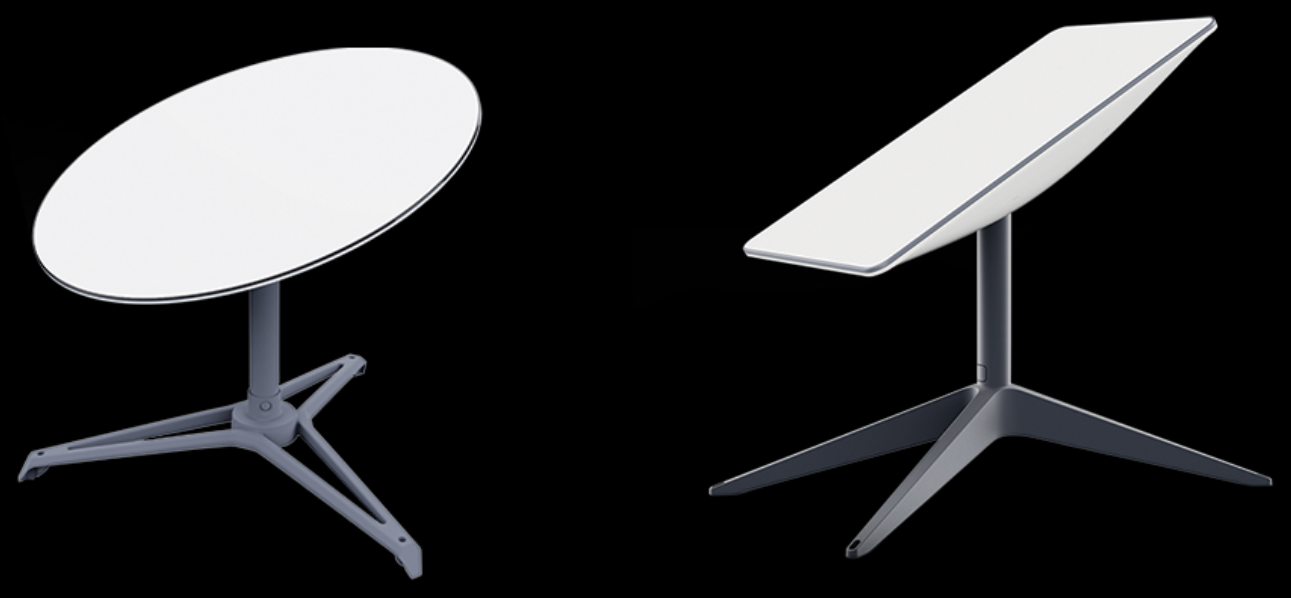
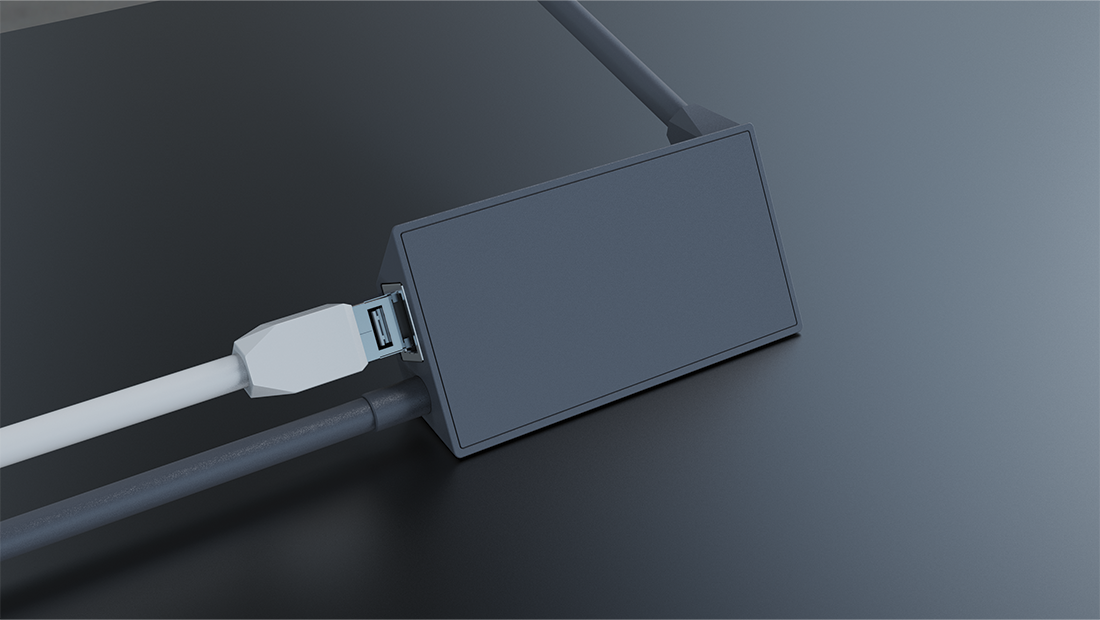
If you have the new Starlink system (the rectangular one) then you will need to buy a separate Ethernet adapter; as the router does not have a Ethernet port. The Ethernet adapter can be found at the Starlink store (https://shop.starlink.com/) . Below is a picture of the adapter (images from Starlink.com).
Connecting Ubiquiti Unifi using Starlink as the router
If you are planning a simple Ubiquiti Unifi set-up, perhaps just using one or two Access Points and a PoE switch or even just a single Access Point with a PoE injector then the set-up is very simple.
The Starlink router remains in it's default state and all that is required is a Ethernet cable from the back of the Starlink router (or adapter) to one of the ports on the PoE switch. You can then proceed to set-up the Access Points in Standalone mode, using a Controller or with a Cloudkey. Please note the Cloudkey would also need to be plugged into the PoE switch. That's it! Simple.
Connecting using a Unifi Dream Machine, Dream Router or USG
Connecting Starlink to a Ubiquiti Unifi router such as a Dream Machine, Dream Machine Pro, Dream Router or USG has a couple more steps, but isn't at all difficult.
1. Put Starlink into Bridge mode
If you were to plug the Starlink straight into the Unifi router you would find that it does work. However as the Starlink is also acting as a router you would have double NAT which can cause problems on your network, particularly for gamers.
To prevent double Nat you need to turn off the router functionality on the Starlink by putting it into Bridge mode.
2. Connect the Starlink router to the Unifi Dream Machine
Take an Ethernet cable (Cat5e, Cat6 etc.) and plug one end into the Ethernet adapter or port of the Starlink. Take the other end and plug it into the WAN port of your Ubiquiti Unifi router.
3. Power up the Unifi Dream Machine
It will normally take a few minutes for the Dream Machine (or other Unifi Router) to boot up and get its self ready.
4. Connect to the Unifi Dream Machine
Using either the Unifi App or a laptop (or PC) connect to the Unifi Router.
If you are using the App the Dream Machine will be discovered by Bluetooth (unless you are using a USG). If you are connecting using a PC or laptop you will need to use an Ethernet cable plugged into one of the LAN ports. By default the IP address of Unifi Routers is 192.168.1.1. 5. You're online!
The default internet connection type of Unifi routers is DHCP which is the connection type being provided by the Starlink in Bridge mode so the Unifi router will be online. Congratulations the set-up is complete.
The pros and cons of using Starlink with UnifiPros
Cons
Conclusion
The bringing together of 2 great American tech companies works really well in our opinion. The network is stable and the internet is fast. What more could you ask for?
Please let us know if you have any questions of queries on any of the above. We hope you enjoyed the blog. Don't forget to check us out on Youtube and Instagram.
3 Comments
|
Huw Jones
Owner of Home Network Solutions Berkshire Categories
All
Archives
May 2024

|
 RSS Feed