|
There are many guides on installing the Omada Software on Ubunutu including an excellent video guide from Crosstalk solutions. However guides on updating the Omada Controller seem to be thin on the ground so I thought I'd make one.
In this quick guide I'll show you how to update your Omada Controller on Ubuntu 20.04 using Putty.
1. Open Putty
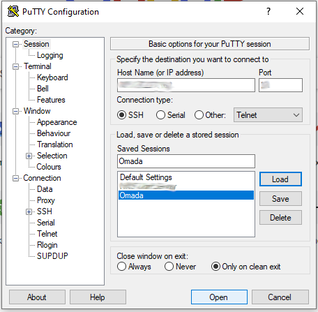
Open putty and enter the IP address of your controller host. Log in, preferably using root.
2. Upload the Omada Software
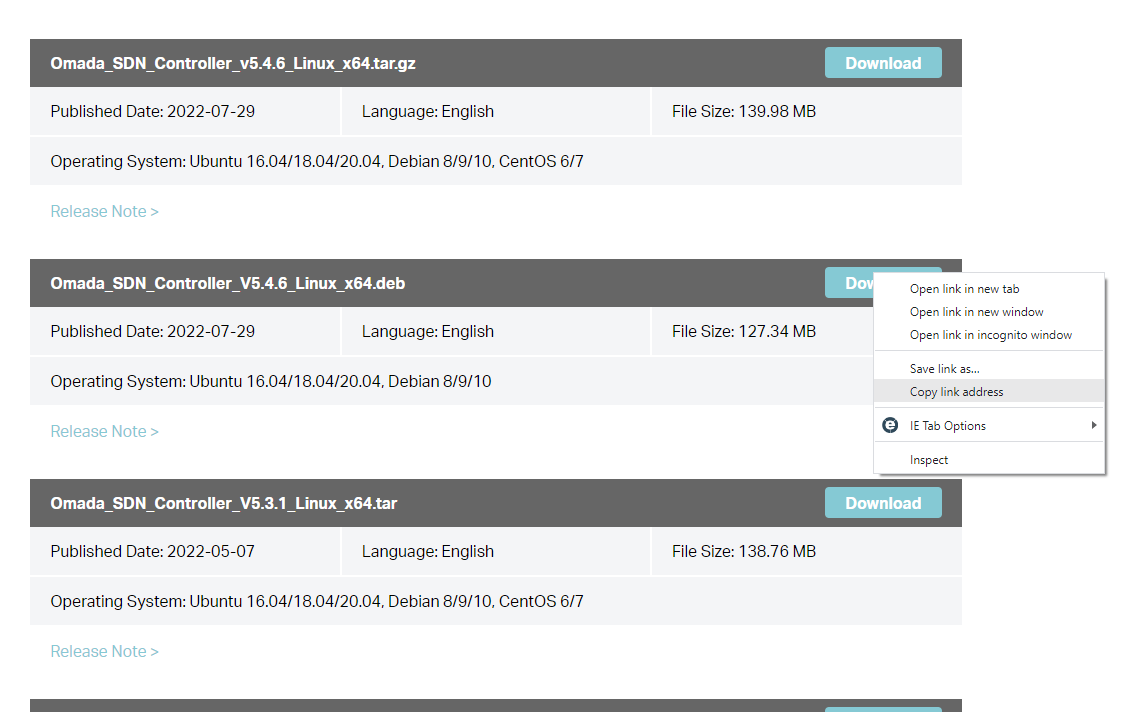
Find the latest version of the Omada Controller at https://www.tp-link.com/us/support/download/omada-software-controller/. Left click on the download button and copy the link address. In Putty type wget followed by the link address.
3. Install the software
To install the software type dpkg -i followed by the Omada file name.
4. Confirm you have a back up and install
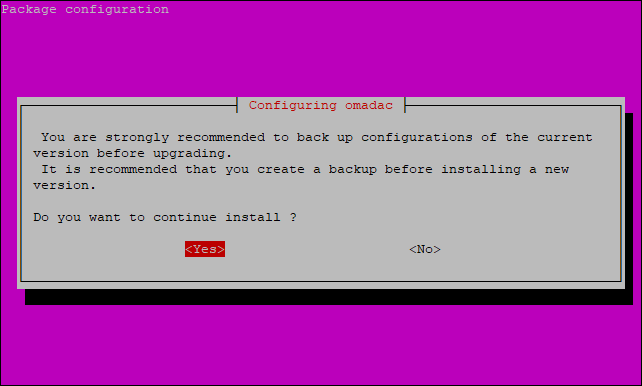
You will be asked if you have a back-up. Assuming you have, press Yes to install.
5. Complete and check
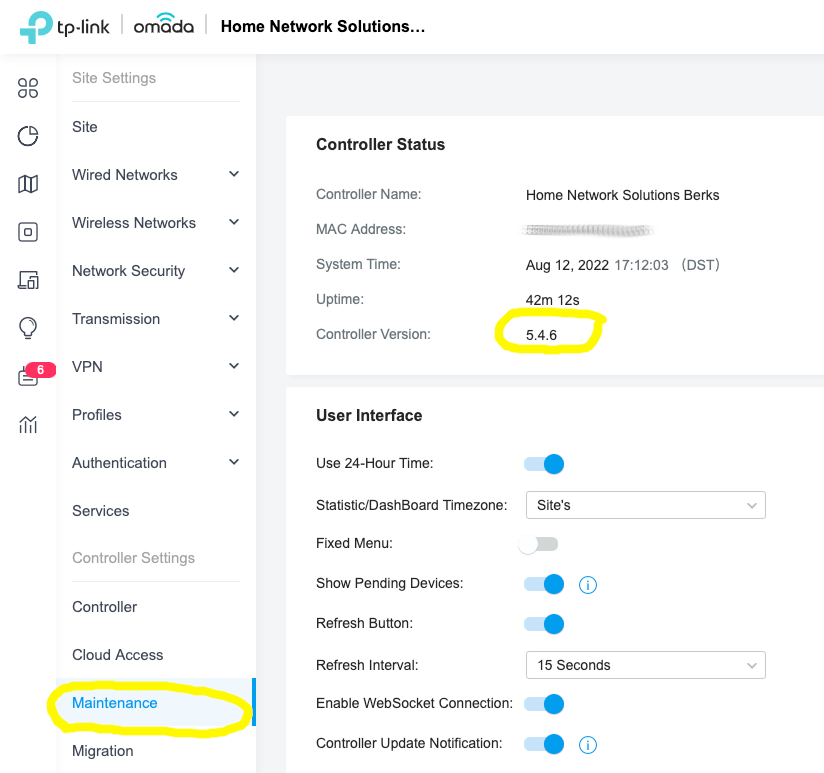
After a couple of minutes the update should be complete and your Omada controller back up and running. To double check the update has been successful login to the Omada Controller and under Maintenance you can check the Controller Version.
Update completed! I hope you have found this guide useful. If you have any questions please let me know.
9 Comments
|
Huw Jones
Owner of Home Network Solutions Berkshire Categories
All
Archives
May 2024

|


 RSS Feed
